Welkom op de BICS-website
Deze website is bedoeld voor gebruikers van BICS en anderen die betrokken zijn bij Elektronisch melden in de binnenvaart. Schippers, (binnenvaart)bedrijven, vaarwegbeheerders, ontwikkelaars van RIS-technologie en andere geïnteresseerden treffen op deze site alle informatie aan over het Binnenvaart Informatie en Communicatie Systeem (BICS).
Gebruik het menu om door de website te navigeren, of ga snel naar:
Nieuws
CCR breidt elektronische meldplicht uit op de Rijn
![]() De Centrale Commissie voor de Rijnvaart (CCR) heeft ingestemd met een uitbreiding van de elektronische meldplicht voor schepen op de Rijn. Vanaf 1 december 2026 gaat de elektronische meldplicht ook gelden voor:
De Centrale Commissie voor de Rijnvaart (CCR) heeft ingestemd met een uitbreiding van de elektronische meldplicht voor schepen op de Rijn. Vanaf 1 december 2026 gaat de elektronische meldplicht ook gelden voor:
- een schip met een lengte van meer dan 86 m dat beschikt over één of meer laadruimen voor het vervoer van goederen,
- een schip dat een andere energiebron dan gasolie voor de voortstuwings- of hulpsystemen aan boord heeft, namelijk methanol, gasvormig waterstof en accumulatoren met een totale capaciteit van meer dan 500 kWh. Voor schepen met een systeem op vloeibaar aardgas (LNG) aan boord wordt de elektronische meldplicht gehandhaafd.
De inwerkingtreding van de uitgebreide elektronische meldplicht is voorzien op 1 december 2026. U kunt gebruikmaken van de BICS-software om aan deze uitbreiding van de elektronische meldplicht te voldoen.
Meer informatie over deze uitbreiding van de elektronische meldplicht vindt u op de CCR-website.
12 juni 2025
Testschippers gezocht!
![]() We werken momenteel hard aan project BICS Centraal, een nieuwe manier om BICS te gebruiken, rechtstreeks vanuit uw browser. Dit betekent geen downloads of installaties meer – eenvoudig, snel en overal toegankelijk via internet.
We werken momenteel hard aan project BICS Centraal, een nieuwe manier om BICS te gebruiken, rechtstreeks vanuit uw browser. Dit betekent geen downloads of installaties meer – eenvoudig, snel en overal toegankelijk via internet.
Momenteel bevindt BICS Centraal zich nog in de ontwikkelingsfase, en daarvoor hebben wij uw hulp nodig. Wilt u als een van de eersten testen of alles naar behoren werkt? Uw eerlijke feedback is voor ons van grote waarde om BICS Centraal verder te optimaliseren. Meld u nu aan door een e-mail te sturen naar Bureau Telematica.
Wij kijken uit naar uw reactie!
17 maart 2025
Eén eerste meldpunt voor Vlaanderen, Brussel en Westerschelde
![]() Per 30 oktober 2024 zullen de eerste meldpunten voor de vaargebieden van Vlaanderen, Brussel en Westerschelde samengevoegd worden tot één gezamenlijk eerste meldpunt.
Per 30 oktober 2024 zullen de eerste meldpunten voor de vaargebieden van Vlaanderen, Brussel en Westerschelde samengevoegd worden tot één gezamenlijk eerste meldpunt.
Drie jaar na de totstandkoming van het eRIBa-platform wordt een nieuwe stap gezet in de vereenvoudiging van het elektronisch melden voor binnenvaartondernemers. Sinds 2021 wisselen waterwegbeheerders in Vlaanderen en Brussel via eRIBa elektronische reismeldingen met elkaar uit. Schepen die over het grondgebied van verschillende vaarwegautoriteiten reizen, zien hierdoor hun administratieve last ingeperkt.
Op 30 oktober 2024 wordt dit ingeslagen pad verder bewandeld met een eengemaakt 'eerste meldpunt'. Schepen die zich in Vlaanderen, Brussel of op de Westerschelde bevinden, kunnen niet langer twijfelen waar ze hun reis aanmelden: voortaan is er voor deze gebieden nog maar één eRIBa-meldpunt beschikbaar, dat in BICS automatisch zal worden voorgesteld bij reismeldingen met een vertreklocatie in deze brede regio. Dankzij deze maatregel wordt de procedure van het elektronisch melden weer een beetje eenvoudiger gemaakt, en verminderd het risico dat reismeldingen niet op de juiste bestemming terechtkomen.
De onderstaande eerste meldpunten komen te vervallen en worden vervangen door het nieuwe eerste meldpunt "Vlaanderen, Brussel en Westerschelde (eRIBa)":
- Vlaamse Waterwegen (FlaRIS)
- Antwerpen, Haven
- Gent, Haven
- Brussel, Haven
Ervaart u problemen met uw BICS-reismelding in Vlaanderen (België)?
 Is uw BICS-reismelding bijvoorbeeld niet zichtbaar bij sluizen of posten in Vlaanderen? Geen zorgen, in het FAQ-artikel Meldproblemen Vlaanderen vindt u mogelijk de oplossing voor uw probleem. Ontdek hoe u uw reismelding via BICS correct kunt aanmelden en weer vlot door Vlaanderen kunt reizen.
Antwoordberichten worden nu ook in België verzonden
![]() Per 10 juni 2024 worden er in België antwoordberichten (ERIRSP) verstuurd. Het versturen van antwoordberichten is reeds van toepassing in Nederland en Duitsland, en nu dus ook in België.
Per 10 juni 2024 worden er in België antwoordberichten (ERIRSP) verstuurd. Het versturen van antwoordberichten is reeds van toepassing in Nederland en Duitsland, en nu dus ook in België.
Dit houdt in dat BICS-reismeldingen gericht aan een eerste meldpunt in België nu net als in Nederland en Duitsland bevestigd worden met een antwoordbericht. BICS zal na het correct verzenden van uw reismelding eerst de status "Verzonden" tonen, waarna de status zal wijzigen naar "Aangemeld" wanneer uw reismelding is bevestigd door het ontvangende systeem.
Meer informatie over de statussen van reisaanmeldingen in BICS vindt u in het FAQ-artikel Reis statussen.
Nieuwe versie van BICS
![]() Rijkswaterstaat introduceert BICS Versie 6 per 4 maart 2024 - Een Frisse Stap in de Toekomst van Binnenvaart Informatie en Communicatie
Rijkswaterstaat introduceert BICS Versie 6 per 4 maart 2024 - Een Frisse Stap in de Toekomst van Binnenvaart Informatie en Communicatie
Vorig jaar haalde het Binnenvaart Informatie en Communicatie Systeem (BICS) zijn 25-jarig jubileum, en ter ere hiervan heeft Rijkswaterstaat in samenwerking met Bureau Telematica Binnenvaart de gebruikersinterface van BICS een nieuwe gebruiksvriendelijkere uitstraling gegeven. Gedurende de afgelopen anderhalf jaar heeft Rijkswaterstaat actief schippers betrokken bij het testen van de nieuwe versie resulterend in een waardevolle samenwerking met enthousiaste schippers die feedback hebben geleverd tijdens de ontwikkeling van deze verbeterde versie.
Meer informatie over deze nieuwe versie van BICS vindt u op de pagina BICS Versie 6.
BICS-website ondergaat verjongingskuur
![]() We zijn verheugd om aan te kondigen dat de BICS-website een opmerkelijke transformatie heeft ondergaan met een eigentijds nieuw uiterlijk en een verbeterde indeling. Deze herontwikkeling is niet alleen visueel aantrekkelijk, maar ook ontworpen om de gebruikersnavigatie te verbeteren en de algehele online ervaring te optimaliseren.
We zijn verheugd om aan te kondigen dat de BICS-website een opmerkelijke transformatie heeft ondergaan met een eigentijds nieuw uiterlijk en een verbeterde indeling. Deze herontwikkeling is niet alleen visueel aantrekkelijk, maar ook ontworpen om de gebruikersnavigatie te verbeteren en de algehele online ervaring te optimaliseren.
Naast de visuele veranderingen heeft de website ook enkele functionele updates ondergaan die de algehele gebruikservaring optimaliseren. Gebruikers worden aangemoedigd om de vernieuwde website te verkennen en feedback te delen om de voortdurende verbeteringen te ondersteunen.
Eenmalig elektronisch melden van reis Vlaanderen - Nederland vanaf 15 februari 2023 mogelijk
 Indien u vanuit Nederland naar Vlaanderen vaart, of vice versa, hoeft u vanaf 15 februari 2023 deze reis slechts eenmalig aan te melden. Het is niet langer nodig om bij de grens opnieuw elektronisch te heraanmelden. Deze vereenvoudiging van administratieve procedures is het resultaat van een nauwe samenwerking tussen de Vlaamse Waterwegbeheerders en Rijkswaterstaat.
Vanaf 15 februari 2023 worden de reis- en ladingsgegevens die voorafgaand aan de reis worden gemeld via meldsoftware, zoals bijvoorbeeld BICS, direct gedeeld met de betrokken partners. "Dit zorgt voor een efficiënte gegevensuitwisseling en elimineert dubbel werk voor de schipper. We hebben signalen ontvangen uit de sector dat het elektronisch melden bij de grens tussen Vlaanderen en Nederland tot frustratie kan leiden, vooral omdat de internetverbinding op die locaties soms hapert. We zijn dan ook trots dat we deze aanpassing hebben kunnen realiseren." aldus Karin Valkenier, projectleider bij Rijkswaterstaat.
Efficiëntere afhandeling
Sinds deze aanpassing worden de gegevens in Vlaanderen ook rechtstreeks gedeeld met de waterwegbeheerders langs de route van het schip via het eRIBa-platform. Jan Gilissen, RIS-applicatiebeheerder van De Vlaamse Waterweg nv, benadrukt dat dit echter afhankelijk is van de voorwaarde dat de schipper minstens twee routepunten doorgeeft via de meldsoftware. Deze werkwijze zorgt voor een efficiëntere afhandeling van de vooraanmelding bij de kunstwerken en draagt bij aan een soepele en correcte facturatie.
Vlotte vaart
"Vanaf 15 februari 2023 starten we met deze uitwisseling. Als schipper hoeft u niets extra te doen, behalve eenmalig elektronisch melden bij vertrek van uw reis. Tijdens de opstartperiode zijn we bijzonder nieuwsgierig naar de ervaringen van alle betrokken partners. We hopen dat dit initiatief een nog vlottere vaart voor iedereen betekent." aldus Valkenier.
Wat betekent dat voor BICS?
Heeft u in BICS het automatisch heraanmelden van reizen tussen Antwerpen en Nederland ingesteld? Verwijder dan z.s.m. deze automatische heraanmelding. Hoe u een automatische heraanmelding kunt verwijderen wordt uitgelegd in de handleiding Automatisch heraanmelden met BICS.
Elektronische meldplicht voor alle beroepsvaart in Vlaanderen
 Per 10 december 2022 is het elektronisch melden van reis- en ladinggegevens verplicht voor alle beroepsvaart in Vlaanderen. Dit betekent dat u meldsoftware, zoals BICS, moet gebruiken voor het melden van uw reizen over de binnenwateren van Vlaanderen.
Deze elektronische meldplicht geldt niet voor pleziervaartuigen, veren die de Gemeenschappelijke Maas oversteken, openbaar personenvervoer over water, en zeeschepen (tenzij deze uitsluitend op de binnenwateren van Vlaanderen varen).
Wanneer moet u elektronisch melden?
Voor reizen in Vlaanderen dient u uw reis- en ladinggegevens elektronisch gemeld te hebben voordat u dit gebied binnenvaart of voordat u een lig- of aanmeerplaats in Vlaanderen verlaat. Het is van belang dat u uw reis tijdig en correct elektronisch aanmeldt ten behoeve van een vlotte doorstroming.
Heeft u problemen met het elektronisch melden van uw reis in Vlaanderen? Raadpleeg dan het FAQ-artikel Meldproblemen Vlaanderen voor mogelijke oplossingen.
Meer informatie over de elektronische meldplicht in Vlaanderen vindt u op visuris.be.
Bijzondere transporten melden met BICS
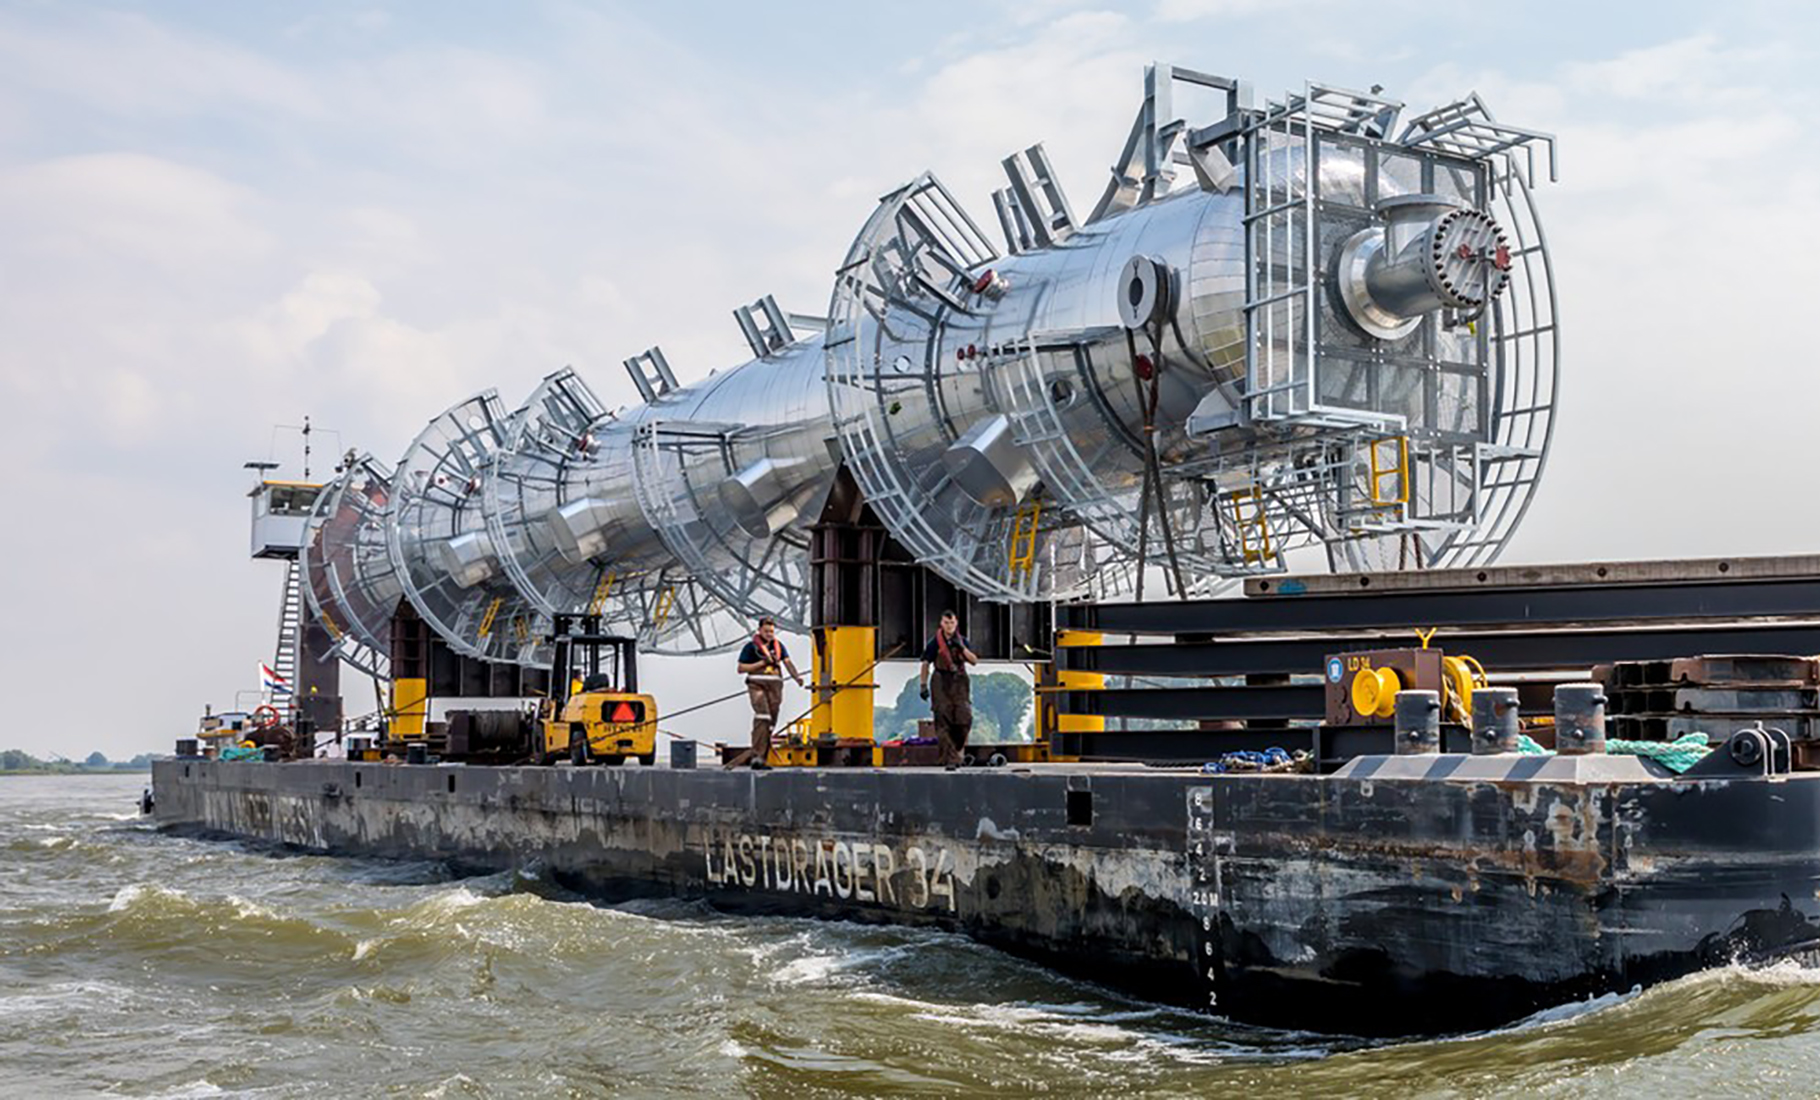 Indien uw scheepsreis een bijzonder transport betreft, dient deze conform artikel 1.21 van het Rijnvaartpolitiereglement elektronisch gemeld te worden. Voor het voldoen aan deze elektronische meldplicht kan de BICS-software worden gebruikt. Bij het elektronisch melden van bijzondere transporten kunnen zich afwijkende situaties voordoen vanwege de samenstelling van de varende eenheid. In de handleiding Bijzondere transporten melden met BICS worden deze situaties beschreven en worden instructies gegeven voor het melden van dergelijke reizen met behulp van BICS.
Automatisch ETA melden bij sluis Terneuzen
 Als u wilt dat uw ETA automatisch wordt gemeld wanneer u de sluis van Terneuzen als tussenpunt van uw reis opgeeft, kunt u de handleiding Automatisch ETA melden bij sluis Terneuzen raadplegen. Deze handleiding legt gedetailleerd uit hoe u uw BICS kunt configureren om in dat geval automatisch een ETA-melding te doen bij de sluis van Terneuzen.
Uitbreiding doelgroep elektronische meldplicht per 1 december 2021
![]() Met ingang van 1 december 2021 geldt er een elektronische meldplicht voor de gegevens die voorheen op basis van artikel 12.01 van het RPR (Rijnvaartpolitiereglement) via de marifoon, schriftelijk of elektronisch konden worden gemeld. Deze verplichting, die tot de genoemde datum alleen van toepassing was op samenstellen en schepen die containers vervoeren, evenals schepen met vaste tanks aan boord, wordt nu uitgebreid naar de volgende scheepstypes:
Met ingang van 1 december 2021 geldt er een elektronische meldplicht voor de gegevens die voorheen op basis van artikel 12.01 van het RPR (Rijnvaartpolitiereglement) via de marifoon, schriftelijk of elektronisch konden worden gemeld. Deze verplichting, die tot de genoemde datum alleen van toepassing was op samenstellen en schepen die containers vervoeren, evenals schepen met vaste tanks aan boord, wordt nu uitgebreid naar de volgende scheepstypes:
- Schepen die vallen onder artikel 12.01, eerste lid, onderdeel a van het RPR en goederen vervoeren waarop het ADN (Europees Verdrag inzake het internationale vervoer van gevaarlijke goederen over de binnenwateren) van toepassing is.
- Schepen die vallen onder artikel 12.01, eerste lid, onderdeel d van het RPR en een lengte hebben van meer dan 110 meter.
- Hotelschepen die vallen onder artikel 12.01, eerste lid, onderdeel e van het RPR.
- Zeeschepen die vallen onder artikel 12.01, eerste lid, onderdeel f van het RPR.
- Schepen die vallen onder artikel 12.01, eerste lid, onderdeel g van het RPR en een LNG-systeem aan boord hebben.
- Bijzondere transporten zoals beschreven in artikel 1.21 van het RPR, zoals vermeld in artikel 12.01, eerste lid, onderdeel h van het RPR.
Om te voldoen aan deze elektronische meldplicht kunt u gebruikmaken van de BICS-software.